")
")
")
Introduction
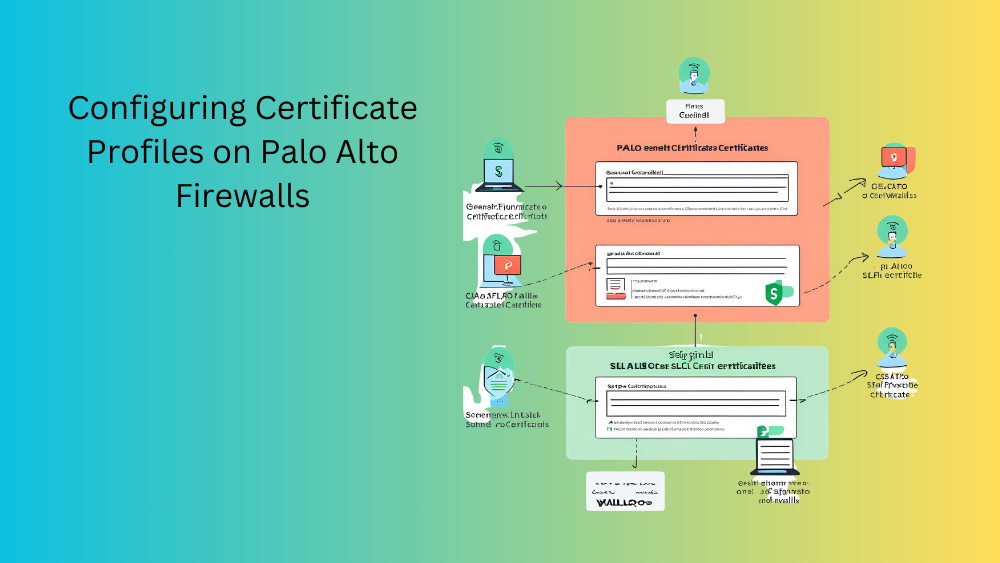
Configuring certificate profiles on your Palo Alto Networks firewall is essential for ensuring secure communications and proper certificate management. This post provides a detailed, step-by-step guide on setting up and managing certificate profiles to ensure secure communications and proper certificate usage.
Importance of Certificate Profiles
Certificate profiles are crucial for:
- Authenticating Communications: Ensuring that only trusted entities can communicate with your firewall.
- Encrypting Data: Protecting data transmitted over the network.
- Managing Certificates: Centralizing certificate management to simplify administration and enhance security.
Steps to Configure Certificate Profiles
Overview: Certificate profiles allow you to specify which certificates are trusted and to configure various SSL/TLS and SSH settings. Properly configured certificate profiles ensure that your network communications are secure and that certificates are used effectively.
Steps to Create and Use Certificate Profiles:
- Create a Certificate Profile:
- Navigate to the Certificate Profile Page:
- Go to
Device>Certificate Management>Certificate Profile.
- Go to
- Add a New Certificate Profile:
- Click
Add. - In the
Certificate Profilewindow, fill in the required details:- Name: Enter a descriptive name for the profile (e.g.,
DefaultCertProfile). - Certificates: Select the certificates to include in this profile. You can add multiple certificates if needed.
- OCSP: Configure Online Certificate Status Protocol (OCSP) settings if required for real-time certificate status checking.
- CRL: Configure Certificate Revocation List (CRL) settings to periodically check the revocation status of certificates.
- Name: Enter a descriptive name for the profile (e.g.,
- Click
OKto create the profile.
- Click
- Navigate to the Certificate Profile Page:
- Apply the Certificate Profile to SSL/TLS Service Profiles:
- Navigate to SSL/TLS Service Profiles:
- Go to
Device>Certificate Management>SSL/TLS Service Profile.
- Go to
- Add or Edit an SSL/TLS Service Profile:
- Click
Addto create a new profile or select an existing profile to edit. - In the
SSL/TLS Service Profilewindow, fill in the required details:- Name: Enter a descriptive name for the profile (e.g.,
SSLProfile). - Certificate: Select the certificate to use for SSL/TLS services.
- Certificate Profile: Select the certificate profile created in step 1.
- Name: Enter a descriptive name for the profile (e.g.,
- Click
OKto save the profile.
- Click
- Navigate to SSL/TLS Service Profiles:
- Apply the Certificate Profile to SSH Service Profiles:
- Navigate to SSH Service Profiles:
- Go to
Device>Certificate Management>SSH Service Profile.
- Go to
- Add or Edit an SSH Service Profile:
- Click
Addto create a new profile or select an existing profile to edit. - In the
SSH Service Profilewindow, fill in the required details:- Name: Enter a descriptive name for the profile (e.g.,
SSHProfile). - Certificate: Select the certificate to use for SSH services.
- Certificate Profile: Select the certificate profile created in step 1.
- Name: Enter a descriptive name for the profile (e.g.,
- Click
OKto save the profile.
- Click
- Navigate to SSH Service Profiles:
- Apply the Certificate Profile to Management Interfaces:
- Navigate to Management Settings:
- Go to
Device>Setup>Management.
- Go to
- Configure Authentication Settings:
- Under
Authentication Settings, select the certificate profile created in step 1 for both web interface and SSH access. - Click
OKandCommitthe changes.
- Under
- Navigate to Management Settings:
Notes, Considerations, and Advice
- Certificate Validity: Regularly check the validity of the certificates included in the profile to avoid using expired certificates.
- OCSP and CRL: Implement OCSP and CRL to ensure that revoked certificates are not trusted.
- Security Best Practices: Follow security best practices such as using strong cryptographic algorithms and key lengths (e.g., RSA 2048-bit).
- Regular Updates: Regularly update your certificate profiles to include new certificates and remove any that are no longer needed.
Configuring certificate profiles on your Palo Alto Networks firewall is a critical step in ensuring secure network communications. This guide provided detailed steps for creating and applying certificate profiles, which are essential for managing SSL/TLS and SSH services securely. Proper certificate profile management not only enhances security but also simplifies certificate administration.
Stay tuned for our next post where we explore managing certificate revocation and renewal processes. If you have any questions or need further assistance, feel free to leave a comment or contact our support team.

Tech Enthusiast & Knowledge Sharer
I am a passionate technologist dedicated to demystifying the world of networking, cloud computing, and automation. Focusing on simplicity and practicality.
I believe in breaking down complex concepts into understandable and actionable insights.